The O365 portal (Defender) filters by keywords from a blacklist, words associated with abuse, hate speech, any profanity, etc. If you are receiving emails that have specific words that are getting past that wider net you can filter those emails out using Outlook’s custom rule functionality.
Login to outlook at https://myemail.ucdenver.edu
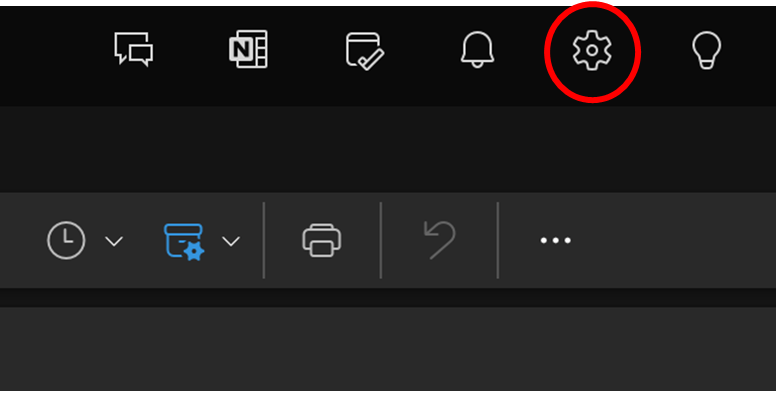
Click the Settings cog in the upper right corner of your browser window.
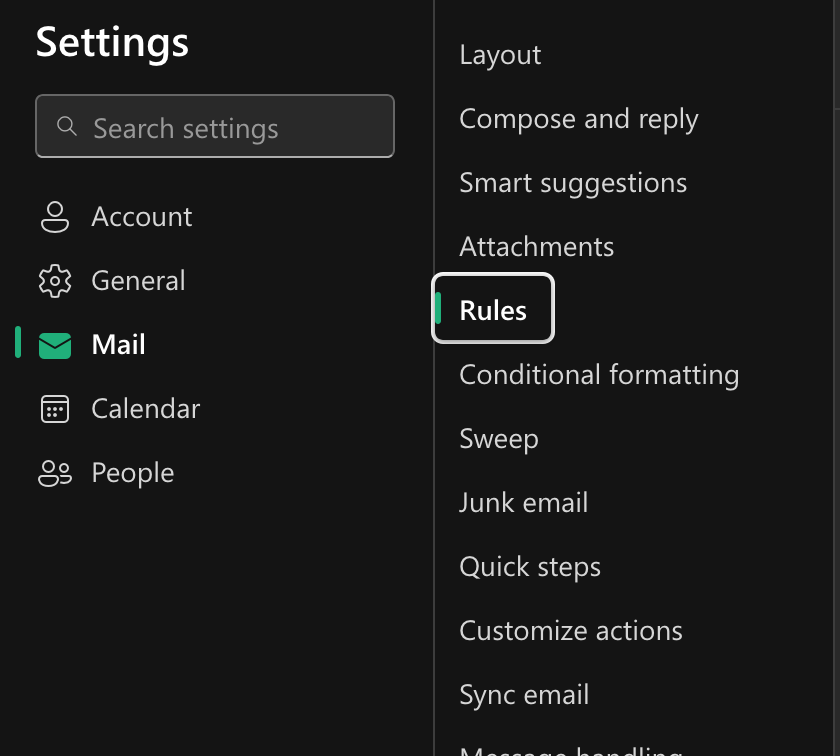
In Mail settings click on “Rules”
Click the “Add new rule” button
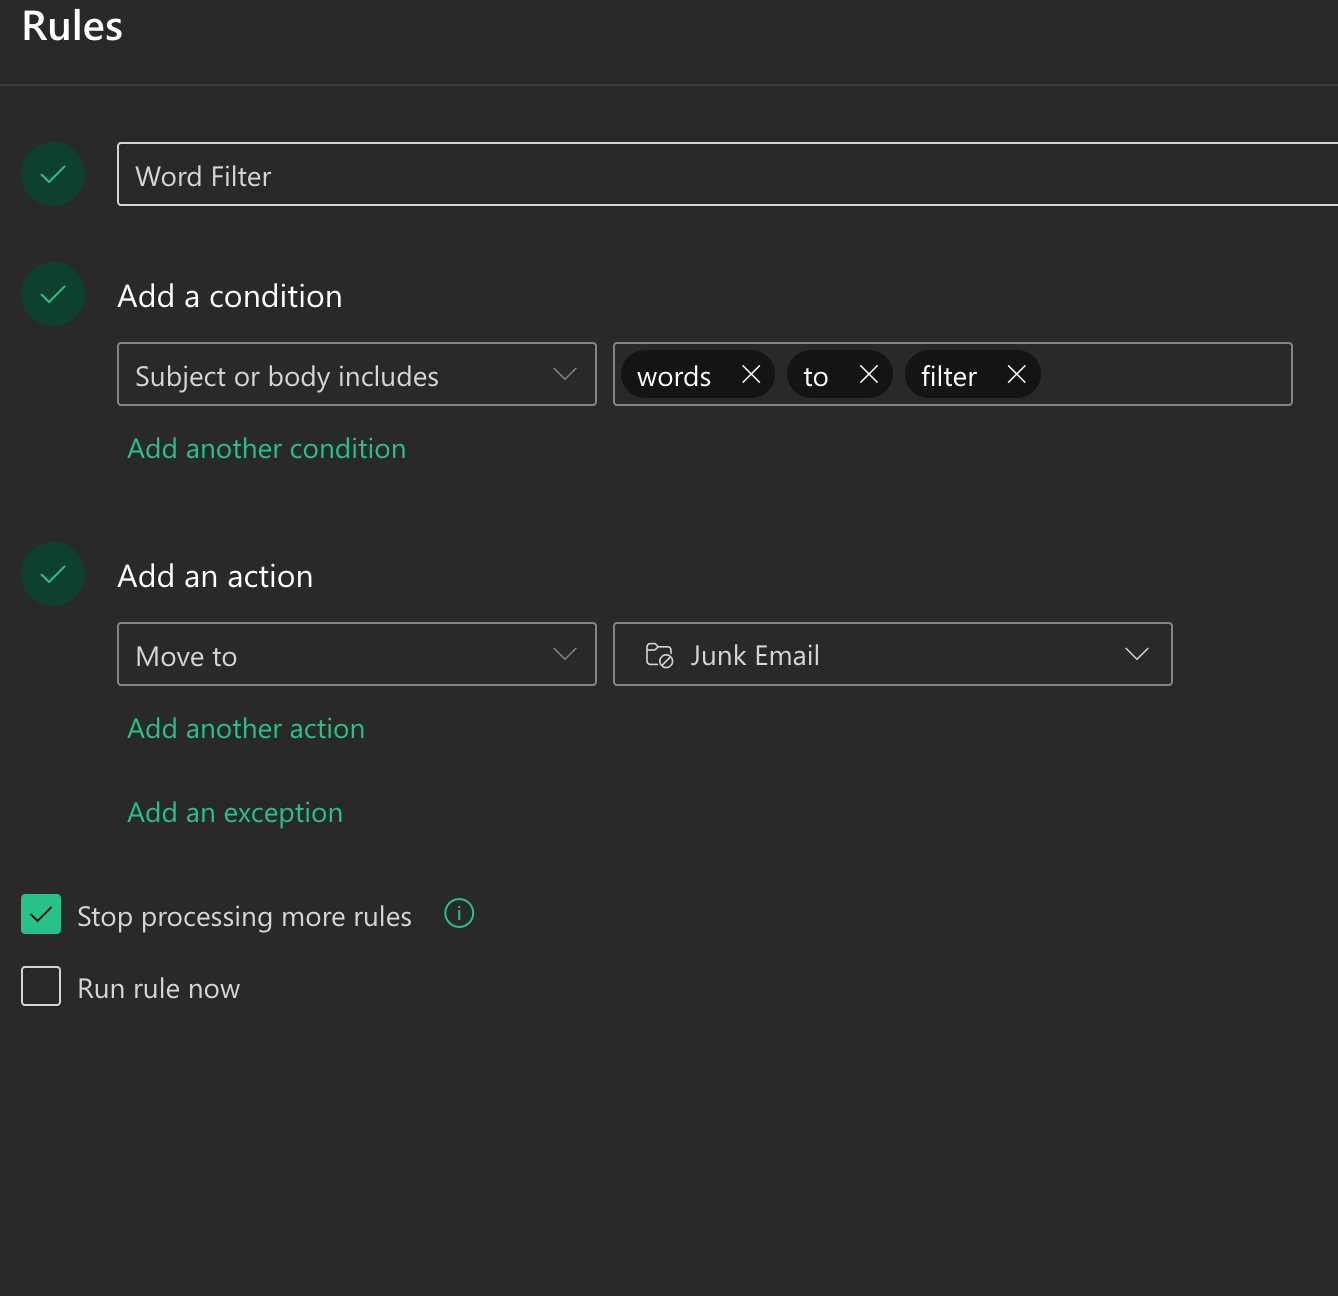
Enter a unique or descriptive name for your rule.
Under add a condition you can select to look for the words you want to filter if they appear in the subject, the body, or both.
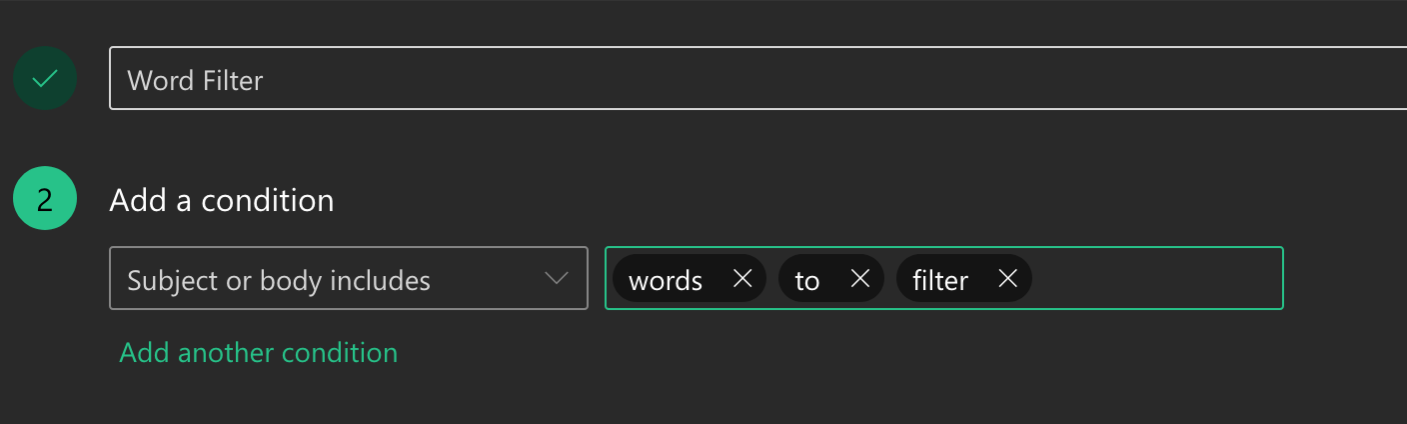
As you add words to the field to the right of your selected condition, make sure to press enter after each individual word so that it is filtered against on it’s own. In the above example, any email that has the words “words”, “to”, or “filter” together or individually would be subject to this rule.
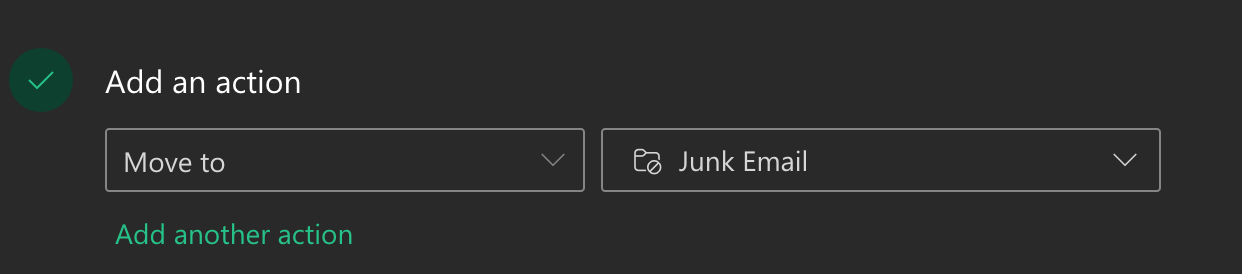
Select an action, we recommend sending emails that are caught by this rule to be sent to Junk, in the case that a legitimate email is filtered by your rule it is much easier to recover from junk than from the trash.
Keep “Stop processing more rules” checked as this will prevent other rules from being processed against any flagged emails by this rule.

Click the “i” button if you’d like to know more about the rule processing feature.
Here’s what our rule looks like after selecting all options:
Don’t check ‘Run rule now’ unless you’d like to run the rule against your entire inbox (this can take a while!). Leaving ‘Run rule now’ unchecked means any new emails will be subject to this rule as they come in.
Click save at the bottom of the frame and your rule should be good to go.
As always reach out to sehdhelp@ucdenver.edu for any help or if you have any questions about more advanced rules or use cases.